
SLAYER Controls and Combat Guide
PC binds for movement, parry combat, Breathing refill, Flashstep, and demon grab escapes.
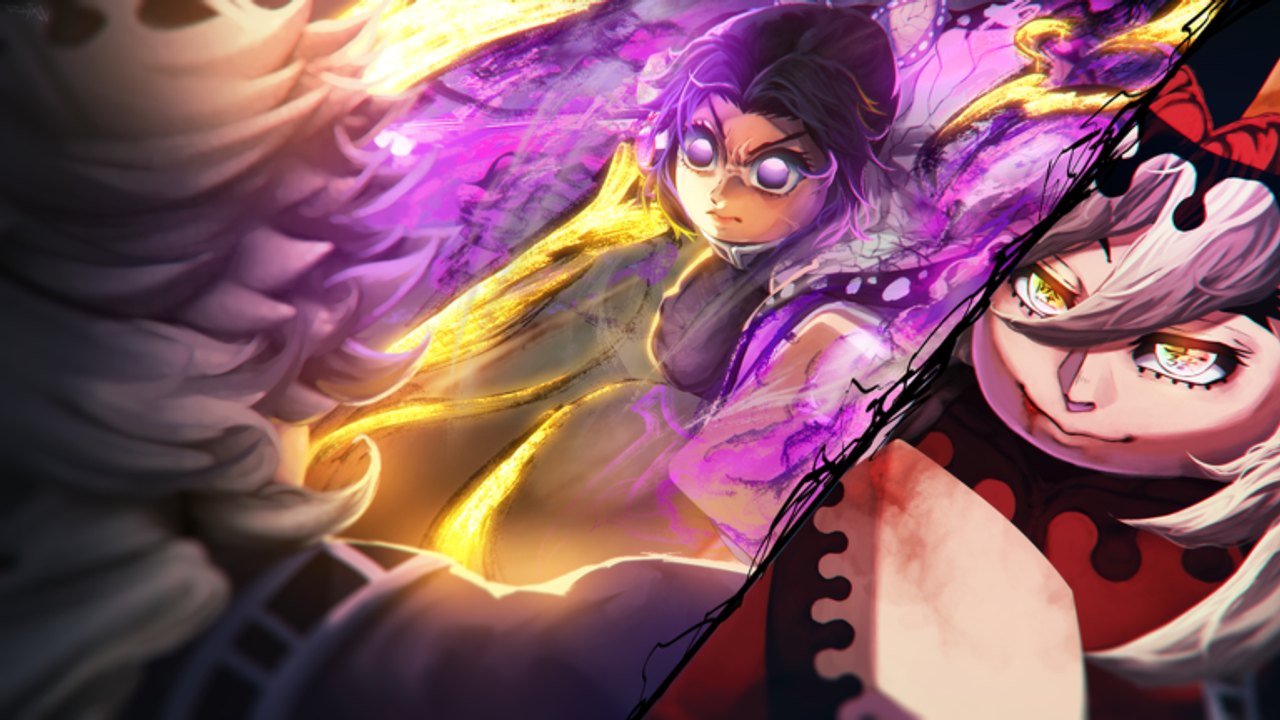
SLAYER is a parry-focused Roblox RPG. Learning the documented PC controls early saves more lives than any Legendary clan roll. This page lists the public-test keyboard bindings used in kriel’s SLAYER, then explains how to turn those binds into a reliable combat loop before Final Selection and Nichirin Forging. Pair this guide with Getting Started for the hub route and Progression once you start investing Yen into training points.
Mobile and controller layouts can differ by Roblox device settings. When an input fails, open the in-game settings or Familiar menu and confirm your binds before assuming a mechanic is broken.
PC control table
| Action | Input |
|---|---|
| Familiar / menu | M |
| Dash | Q |
| Flashstep | Hold E, then Q |
| Uppercut | Ctrl + M1 |
| Downslam | After uppercut: Hold Space + M1 |
| Block / timed parry | Hold F (time the press for parry) |
| Guard break | R, or keep attacking a blocking guard |
| Breathe (refill Breathing bar) | E |
| Basic attack | M1 (left click) |
| Demon grab escape | Type the on-screen letter sequence before the red bar empties |
These binds match the documented public-test control set used across beginner walkthroughs. If a seasonal title suffix or UI update renames a prompt, trust the key shown in your current client.
Familiar menu (M)
M opens the Familiar menu, which is more than a pause screen. From here you travel between hubs such as Frozen Shroud and Ivory Passage, queue Final Selection solo or with a party, and reach faction tools tied to your current objective. New players should open Familiar after the tutorial until travel destinations feel obvious. Losing track of Ivory Passage after earning Nichirin Ore is one of the most common post-trial mistakes; the menu is how you fix that.
Dash and Flashstep
Q dashes. Dash is your basic spacing tool for whiff punishment, grab avoidance, and resetting after a missed string. Do not save dash only for panic — weave it between swings so you never stand still in a demon’s face.
Flashstep is Hold E, then Q. It is a longer or sharper reposition than a normal dash, but it is gated. Community and walkthrough notes repeatedly state that reliable Flashstep often requires Final Selection completion. A long-sword perk can also block Flashstep on some loadouts. If Hold E + Q does nothing, check three things: Final Selection status, equipped weapon perks, and whether you are accidentally releasing E too early.
Treat Flashstep as a reward for finishing the mountain trial, not as a day-one expectation. Until it unlocks, master ordinary dash and footwork.
Block, parry, and guard break
Hold F to block. Timing the block against an incoming swing converts the defense into a parry. Parry is the heart of SLAYER combat. A successful parry creates a window to punish; a late block merely reduces damage; a panic hold can still lose to guard breaks or grabs.
Drill parries in hub training before you queue the mountain. The Parry Training minigame exists specifically to raise Strength and timing comfort — see Progression for how those points fit the larger meter map.
To break an opponent’s guard, press R or continue attacking their block until the guard collapses. Guard break matters in PvP and against demons that turtle. Do not throw unprotected Breathing forms into a firm block; open with pressure, break the guard, then spend resources.
Uppercut into downslam
Ctrl + M1 performs an uppercut that launches or lifts the target depending on the interaction. Immediately afterward, Hold Space + M1 converts the launch into a downslam. This air route is one of the cleanest confirmed strings for beginners because it teaches commitment and follow-through instead of random M1 spam.
Practice the sequence in a safe hub area until your fingers stop separating the inputs. Many players mash Space too early or forget to hold it. The correct rhythm is uppercut first, then hold Space while pressing M1 for the slam.
Breathing resource (E)
Press E to refill the Breathing bar. Breathing forms spend that resource. Running dry mid-fight turns a strong style into a wooden stick with cosmetics. Make Breathing refill part of your neutral: dash out, press E, re-enter. After you forge a Nichirin and unlock forms, this habit becomes mandatory.
Remember the weapon gate described in Nichirin Forging: a wooden blade cannot carry Breathing forms. If E refills the bar but forms still refuse to fire, you likely still need the forged katana, not a new keybind.
Demon grabs and letter sequences
Some demon attacks grab you and freeze normal movement. When that happens, an on-screen letter sequence appears with a red timer bar. Type the letters in order before the bar empties. This is not optional flavor — failing the sequence means eating the grab damage or follow-up.
Tips that help under pressure:
- Look at the full sequence once before typing
- Do not mash random keys
- Keep your left hand ready to return to WASD and Q the moment the grab ends
- If grabs keep landing, your dash timing is late; create space earlier
Building a simple combat loop
A reliable beginner loop looks like this:
- Approach with dash or walk; do not sprint blindly into every pack.
- Open with M1 pressure or a short string.
- When the enemy swings, time F for a parry.
- Punish with uppercut into downslam, or a short M1 confirm.
- If the enemy blocks, use R or sustained hits to guard break.
- Dash out, press E to refill Breathing, then decide whether a form is available.
- After Final Selection and Nichirin forging, spend Breathing forms as enders or confirmed openings — not as blind starters into armor.
This loop scales from Frozen Shroud training into the mountain trial. On Final Selection, uneven demon health pools punish greedy strings. Reset with Q more often than you think you need to.
Faction notes: Slayer versus Demon
Controls are shared at the movement layer, but resource fantasy differs. Slayers care about Breathing refill and eventually form routes after Nichirin forging. Demons push Blood Level and Blood Demon Arts; their power spikes come from consumption and hideout systems rather than the ore-to-Blacksmith path. Either faction still needs dash, parry, and grab escapes. Do not skip defense practice because your fantasy is “glass cannon.”
Practice plan tied to the rest of the wiki
- Finish the tutorial route on Getting Started.
- Spend Yen on Parry Training and Breathing Cap drills listed under Progression.
- Repeat uppercut into downslam until it is muscle memory.
- Queue Final Selection only after you can survive practice exchanges without panic blocking.
- Forge at Ivory Passage using Nichirin Forging, then add Breathing forms into the loop.
- Compare style roles later on the Tier List and redeem Codes when you need Yen for more drills.
Troubleshooting inputs
- Flashstep does nothing: Finish Final Selection, check long-sword perks, and confirm you are holding E before Q.
- Forms will not cast: Forge and equip a Nichirin; refill Breathing with E; confirm the move is unlocked.
- Parry never triggers: You are holding F too early or too late — use Parry Training and watch the enemy wind-up.
- Grab letters fail: Stop mashing; read the sequence; type cleanly once.
- Downslam misses: Uppercut first, then Hold Space + M1 without releasing Space early.
Master these controls and every later guide becomes easier. SLAYER rewards timing more than gear score in the early public-test curve, and the players who clear Final Selection on the first serious attempt are usually the ones who drilled F, Q, and the uppercut route before they queued.
Frequently Asked Questions
Quick answers to the most common questions.
How do I Flashstep in SLAYER?
Hold E, then press Q. Flashstep often requires Final Selection completion, and some long-sword perks can block it.
What is the difference between block and parry?
Hold F to block. Timing that block against an incoming attack converts it into a parry that opens a punish window.
How do I uppercut and downslam?
Press Ctrl + M1 for the uppercut, then immediately Hold Space + M1 for the downslam follow-up.
What do I do during a demon grab?
Type the on-screen letter sequence in order before the red bar empties. Mashing random keys usually fails.
Why can I refill Breathing but still not use forms?
E only refills the bar. Breathing forms also need an unlocked move, enough level, and a forged Nichirin instead of a wooden blade.