
SLAYER Final Selection Guide
Prepare, queue solo or in a party, follow the live mountain objective, and secure Nichirin Ore.
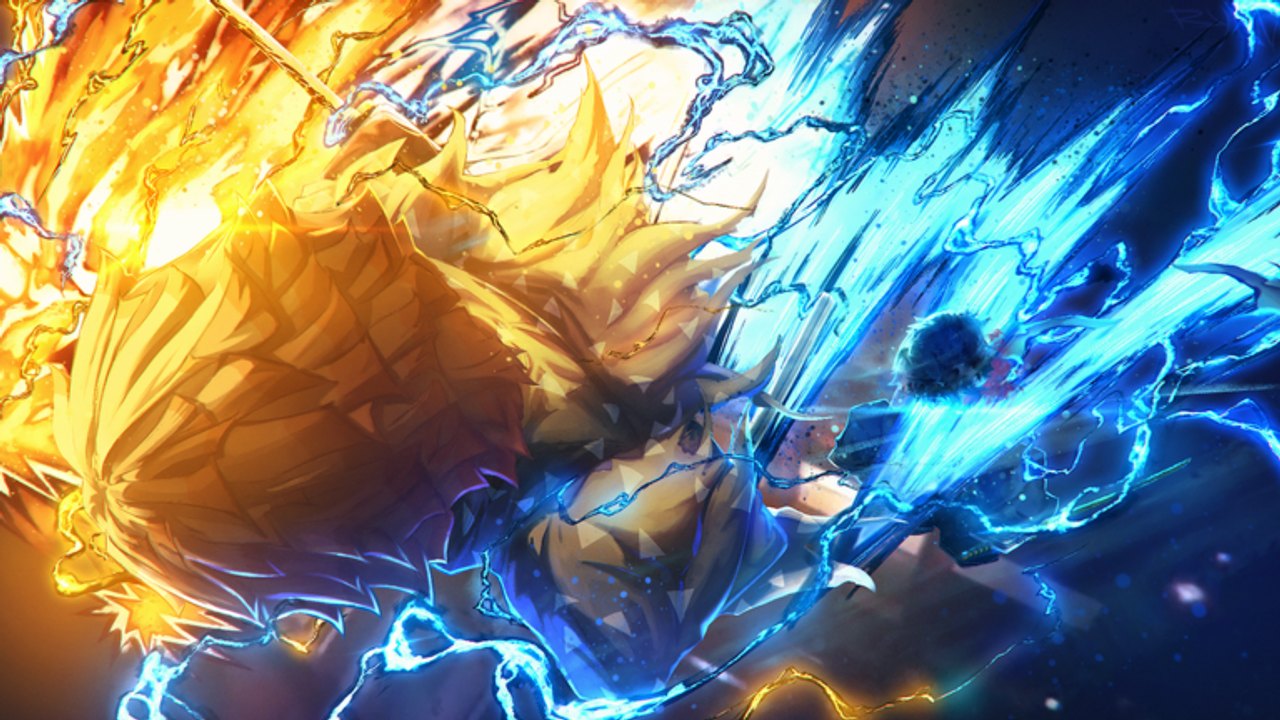
Final Selection is the Slayer mountain trial that separates cadet play from real Breathing progression in SLAYER. You queue from the Familiar menu, fight through a dark mountain filled with demons, and clear the live objective without dying. Success awards Nichirin Ore, which feeds directly into Nichirin Forging at Ivory Passage. Failure returns you to the hub so you can retrain using the routes on Getting Started and Progression.
This page focuses on preparation, queue options, the documented objective conflict, survival habits, and what to do the moment ore hits your inventory. Brush up on Controls first if parry and dash still feel shaky.
What Final Selection is for
In the public-test fantasy, Final Selection is the rite that proves you can survive demon pressure before a Blacksmith will forge a true Nichirin Katana. Breathing forms reject the wooden starter blade. The ore drop is the material bridge between “I finished the tutorial” and “my Flame or Water forms actually cast.”
Demons following the Blood Level path do not use this blade route the same way. If you rolled Demon, read Progression for Blood systems and treat this page as optional knowledge for Slayer alts or party support.
Prerequisites and preparation
You do not need a finished endgame build, but you should not queue completely raw. Before entering:
- Finish the foggy-yard tutorial and reach Frozen Shroud.
- Open Familiar with M and confirm you can see the Final Selection queue entry.
- Spend Yen on Breathing Cap, Parry Training, and Log Carrying so you are not stuck on starter stats.
- Practice block, timed parry, dash, uppercut, and downslam until they are automatic.
- Claim anything useful from Codes so Yen shortages do not block one more training round.
Optional but smart: party with players who already understand spacing. A coordinated group clears packs faster and can cover you when a high-health demon focuses one target. A disorganized party still dies together when someone greedily pulls every spawn at once.
How to queue: solo or party
Open the Familiar menu (M) from the hub and select Final Selection. Choose solo if you want full control of pacing and are confident in parries. Choose party if friends are online and you prefer shared damage.
Important failure rule from public-test reports: dying can send you and your party back to the hub. Do not treat teammates as infinite safety nets. If a partner is about to die, reset with dash, stop greeding kills, and stabilize before the whole run collapses.
The mountain and the objective conflict
Final Selection drops you onto a dark mountain populated by demons. Enemy health and damage are uneven — some demons are trivial, others shred untrained characters. Play the map cautiously for the first minute so you learn which silhouettes hit harder.
Public-test text has conflicted:
- Mode description language has mentioned surviving about 15 minutes and slaying about 15 demons.
- In-match objective text has read along the lines of slay 10 demons before dawn.
- Clearing 10 demons without dying has been enough to trigger the YOU SURVIVED FINAL SELECTION success screen in documented runs.
Rule: follow the live objective counter on your HUD. When description text and the active goal disagree, the active goal wins. This wiki will not pretend a single static number is eternal while the build is still in public testing. Check Updates when patch notes clarify the counter.
Survival tactics that actually work
Pace the kill counter
You need enough kills (or whatever the live counter asks) before dawn, not a speedrun death. Pull one or two demons at a time. Use terrain and dash to reset. Banking safe kills beats chasing a distant elite while low on Breathing and health.
Defend first, punish second
Hold F to block and time parries against telegraphed swings. After a parry, convert into M1 pressure or uppercut into downslam. If a demon turtles, use guard break (R or sustained hits) instead of dumping Breathing forms into a shield.
Manage Breathing even before Nichirin forms
Press E to refill the Breathing bar during downtime. Even if wooden-blade restrictions still block full forms, building the refill habit now prevents later starvation once the katana is forged.
Respect grabs
When a grab lands, type the on-screen letter sequence before the red bar empties. Panic mashing fails. After you escape, dash immediately — many grabbers swing again on wakeup.
Flashstep expectations
Flashstep (Hold E, then Q) may still be locked or unreliable until Final Selection is completed. Do not build your entire escape plan around Flashstep on the first attempt. Ordinary Q dash and good spacing carry the run.
What happens when you die
Death returns you to the hub. Treat it as a training signal, not a soft lock. Spend Yen on the drills that failed you — usually Parry Training or Breathing Cap — then requeue. If you died because a party member overpulled, either queue solo or set a pull rule before the next attempt.
There is no documented permanent character delete for failing Final Selection in the public-test notes used for this guide. You lose the run, not the account. Re-enter when ready.
Rewards: Nichirin Ore and the next objective
Passing Final Selection awards Nichirin Ore and typically pushes a forge-related objective. Open your inventory and quest tracker immediately. Confirm the ore is present before you celebrate and log off.
Next steps, in order:
- Keep the ore.
- Open Familiar and travel to Ivory Passage.
- Find the Blacksmith and forge a Nichirin Katana.
- Equip the katana and verify Breathing forms no longer show the wooden-blade warning.
Full forge details live on Nichirin Forging. Skipping the forge and returning to random open-world grinding wastes the trial.
Party etiquette for cleaner clears
- Agree on whether you focus shared packs or split for faster counters.
- Call out high-damage demons instead of stacking corpses on one player.
- Save panic dashes for grabs and unblockables, not for every swing.
- If one player is about to die, stabilize; a wipe resets everyone.
- After success, wait for each member to confirm ore before everyone scatters to Ivory Passage.
Linking Final Selection to long-term progression
Final Selection is a gate, not the endgame. After forging:
- Raise Breathing Level through combat and hideout training.
- Clear gourd limit breaks near every five Breathing Levels.
- Keep spending Yen on training points described in Progression.
- Compare style and clan value on the Tier List only after forms actually work.
Players who clear the mountain once, forge, then ignore training still stall. Players who treat Final Selection as the start of real Slayer progression climb faster.
Quick checklist before you queue
- Tutorial done, Frozen Shroud reached
- Familiar menu understood
- Yen spent on at least basic Breathing and Parry drills
- Controls comfortable: dash, block/parry, uppercut route, grab letters
- Solo versus party decision made
- Plan ready: follow live counter, then forge ore at Ivory Passage
If every box is checked, queue Final Selection. If any box is empty, spend ten more minutes on Controls or hub training. The mountain is shorter when you arrive prepared, and Nichirin Ore feels earned instead of lucky.
Frequently Asked Questions
Quick answers to the most common questions.
How do I start Final Selection in SLAYER?
Open the Familiar menu with M from the hub and queue Final Selection solo or with a party.
Do I need to kill 10 or 15 demons?
Public-test text has conflicted. Follow the live in-match objective counter; documented clears of the on-screen goal around 10 kills have awarded success.
What do I get for passing Final Selection?
Passing is documented to award Nichirin Ore, which you take to the Ivory Passage Blacksmith to forge a Nichirin Katana.
What happens if I die during Final Selection?
You return to the hub. Party members can be sent back with you. Retrain, then requeue — failure does not delete the character.
Can I use full Breathing forms during the trial?
Wooden blades cannot carry Breathing forms. Clear the trial for ore, then complete Nichirin Forging so forms work afterward.