
SLAYER Getting Started Guide
From character creation and pity rolls to Frozen Shroud training and Final Selection prep.
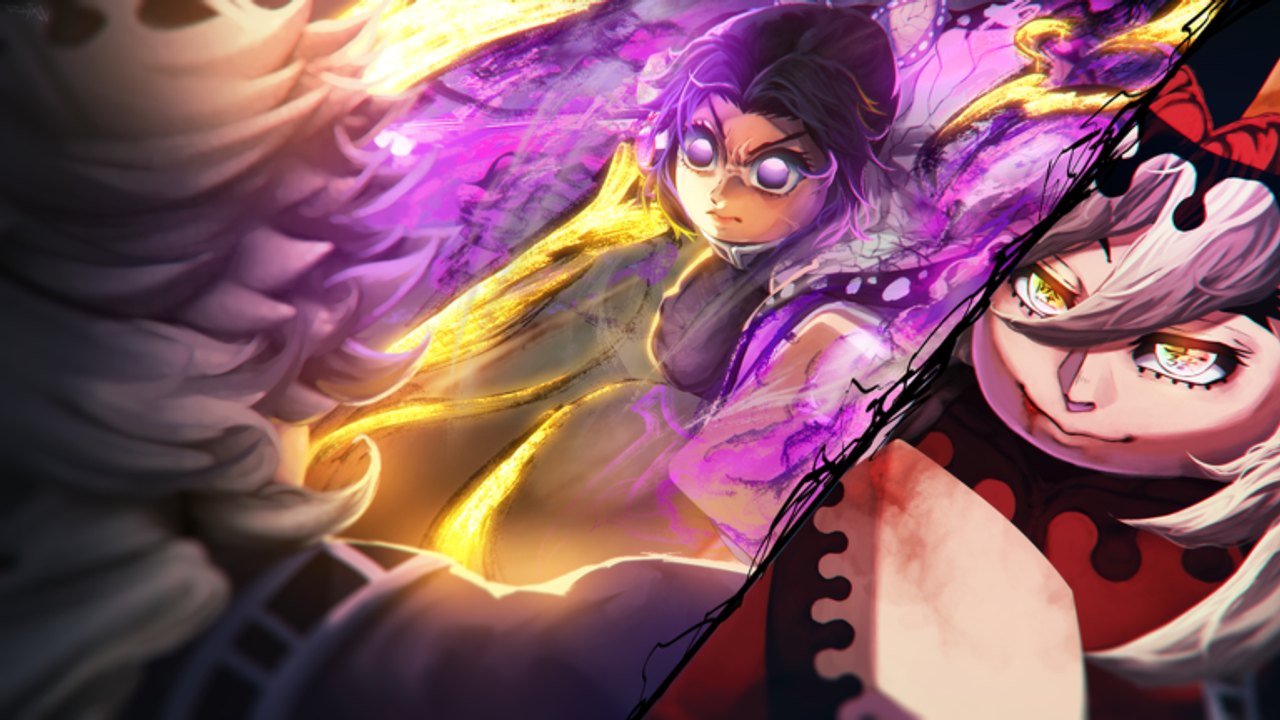
SLAYER by kriel is a Demon Slayer-inspired Roblox action RPG currently in public testing (Place ID 134190081223854). This getting-started guide covers the verified first-hour loop: create a character, finish the tutorial, reach Frozen Shroud, train with Yen, learn combat from the Controls page, then prepare for Final Selection and Nichirin Forging. Keep Progression open when you need a deeper breakdown of EXP, training points, Breathing Level, and Blood Level.
Because the build is live-tested, temporary title tags such as double EXP weekends can appear, and objective wording can disagree with older menus. Always trust the counter on your screen when numbers conflict.
Before you press Play
Join from the official Roblox place page and confirm you are in the public SLAYER experience by kriel, not a lookalike Demon Slayer title. Read the game description for the latest control summary, then bookmark this wiki so you can jump between Codes, the Tier List, and Players without leaving your browser.
Decide whether you want a Slayer or Demon first life. Slayers follow Breathing Styles, Final Selection, and Nichirin forging. Demons pursue Blood Level, body consumption, demon hideout training, and Blood Demon Arts. You can always make another character later, but your first hours feel cleaner if you commit to one faction route.
Character creation: faction, Breathing, and Clan
At creation you pick Slayer or Demon, then roll a Breathing Style and a Clan. Rarity bands include Common, Rare, Legendary, and Mythic. Public-test pity documentation states a guaranteed Legendary-or-better result within 60 rerolls and a Mythic within 180 rerolls. Spend rerolls deliberately: a Legendary clan or style can matter more than burning every currency chasing a Mythic on day one.
Documented Breathing Styles on the public board include Flame, Lunar, Water, Thunder, Mist, Beast, Breathless, Insect, Sound, and Wind. Sun and Shadow are listed as developer-only or unobtainable. Exact move kits change with patches, so open your in-game style menu after the tutorial instead of memorizing third-party move lists. For comparative rankings once you understand the kit, check the Tier List.
Tutorial yard and first rewards
The opening tutorial places you in a foggy yard that teaches the core movement and combat loop. Complete every prompt. Documented completion rewards include Wisteria Blossom and Pine Charcoal. Those items matter for early crafting or quests depending on the current build, so do not discard them casually.
After the tutorial you are directed to the hub known as Frozen Shroud. Learn the Familiar menu immediately: press M on PC to open travel, Final Selection queue options, and related social tools. If anything in the tutorial feels unclear, pause and skim Controls before spending Yen on training.
Frozen Shroud: your first real hub
Frozen Shroud is the home base for early Slayer progression. From here you:
- Spend Yen on training minigames
- Practice parries and Breathing resource management
- Queue Final Selection when you feel ready
- Travel through the Familiar menu toward Ivory Passage after you earn Nichirin Ore
Do not sprint into Final Selection naked. A fresh character with zero training can die to high-health mountain demons and bounce straight back to the hub. Use the hub loop to build a small cushion of Strength, Breathing Cap, and comfort with block timing.
Early training that is worth the Yen
Training minigames cost Yen and return targeted gains. Documented early drills include:
- Boulder / Breathing Training — improves Breathing Cap and related breathing resources
- Parry Training — builds Strength and combat timing points
- Log Carrying — trains Strength and Breathing Cap through a stamina-style carry loop
Buy a few rounds of each instead of dumping everything into one stat. Parry training pays for itself because Final Selection and open-world demons punish players who only mash M1. When you hit documented milestones, expect limit break gourds (for example a Grade 1 Limit Break Gourd around the ~500 point band in community notes). Limit breaks gate further Breathing Level gains for Slayers; details live on Progression.
Redeem any active gifts on Codes before you run out of Yen for training. Free currency early is worth more than hoarding codes for later.
Combat habits to learn before the mountain
You do not need a perfect combo route on day one, but you do need these habits:
- Dash with Q to reset spacing
- Hold F to block; time the press for a parry
- Use Ctrl + M1 for an uppercut, then Hold Space + M1 for a downslam
- Press E to refill the Breathing bar before you need a form
- Treat Flashstep (Hold E, then Q) as a gated mobility tool — many accounts unlock reliable Flashstep after Final Selection, and some long-sword perks can block it
When a demon grab locks you, type the on-screen letter sequence before the red bar empties. Panic mashing fails; calm letter entry succeeds. Full bind tables and tips sit on the Controls page.
Final Selection readiness checklist
Queue Final Selection from the Familiar menu when you can consistently parry practice dummies, have spent Yen on at least a couple of training rounds, and understand that death returns you to the hub. You can enter solo or with a party. The mountain is dark and filled with demons of uneven difficulty; some packs hit much harder than others.
Public-test descriptions have conflicted between surviving or slaying around 10 versus 15 demons or minutes. Follow the live objective. Clearing the counter without dying awards Nichirin Ore and the survival success screen. Full preparation, failure recovery, and reward notes are on Final Selection.
After the ore: forge before you spam forms
Nichirin Ore is not a cosmetic flex. Take it to the Blacksmith in Ivory Passage through the Familiar menu and forge a Nichirin Katana. A wooden starter blade cannot carry Breathing forms; the game will stop you with a wooden-blade warning until the Nichirin is equipped. Step-by-step forging lives on Nichirin Forging.
Once the katana is in your loadout, return to Frozen Shroud training, purchase or unlock the Breathing forms your style allows, and raise Breathing Level through combat plus hideout drills. Slayers should expect gourd limit breaks roughly every five Breathing Levels. Demons skip the blade gate and instead push Blood Level through consumption and demon hideout systems described in Progression.
Suggested first-session timeline
- Create Slayer or Demon and lock a roll you can live with under pity rules.
- Finish the foggy-yard tutorial and bank Wisteria Blossom plus Pine Charcoal.
- Arrive at Frozen Shroud and open Familiar (M).
- Claim Codes and spend Yen on Breathing, Parry, and Log training.
- Drill block, parry, dash, and uppercut until they feel automatic.
- Queue Final Selection; on success, forge at Ivory Passage immediately.
- Revisit Progression for your faction’s long loop, then compare options on the Tier List.
Common beginner mistakes
- Skipping training and dying instantly on the mountain
- Ignoring parry practice because M1 feels faster in the yard
- Trying Breathing forms on a wooden blade and assuming the style is broken
- Burning every reroll for Mythic before learning combat
- Forgetting that Flashstep may stay locked until Final Selection is done
- Leaving codes unclaimed while Yen-starved for training
Avoid those traps and your first evening in SLAYER feels intentional instead of confusing. When you want social context, party tips, or notable player routes, open Players. When the live build changes a counter or menu name, cross-check Updates and trust the objective text in front of you.
You now have the full beginner spine: create, tutorial, hub train, controls mastery, Final Selection, Nichirin forge, then faction progression. Use the sibling guides linked above whenever a single step needs more depth.
Frequently Asked Questions
Quick answers to the most common questions.
What do I unlock from the SLAYER tutorial?
Clearing the foggy-yard tutorial is documented to award Wisteria Blossom and Pine Charcoal before you continue to the Frozen Shroud hub.
Should I pick Slayer or Demon first?
Pick Slayer if you want Breathing Styles, Final Selection, and Nichirin forging. Pick Demon if you prefer Blood Level, consumption, and Blood Demon Arts. You can create another character later.
Why can I not use Breathing forms yet?
The wooden starter blade cannot carry Breathing forms. Pass Final Selection, take Nichirin Ore to Ivory Passage, and follow Nichirin Forging.
How does roll pity work?
Public-test pity notes a guaranteed Legendary-or-better within 60 rerolls and Mythic within 180. Confirm current pity text in-game when the build updates.
Where should I go after forging a Nichirin?
Return to hub training, raise Breathing Level, clear gourd limit breaks, and use Progression plus the Tier List to plan your next purchases.