
SLAYER Combat & Parry Guide
Turn PC binds into a reliable loop: dash, timed parry, guard break, air routes, and Breathing management.
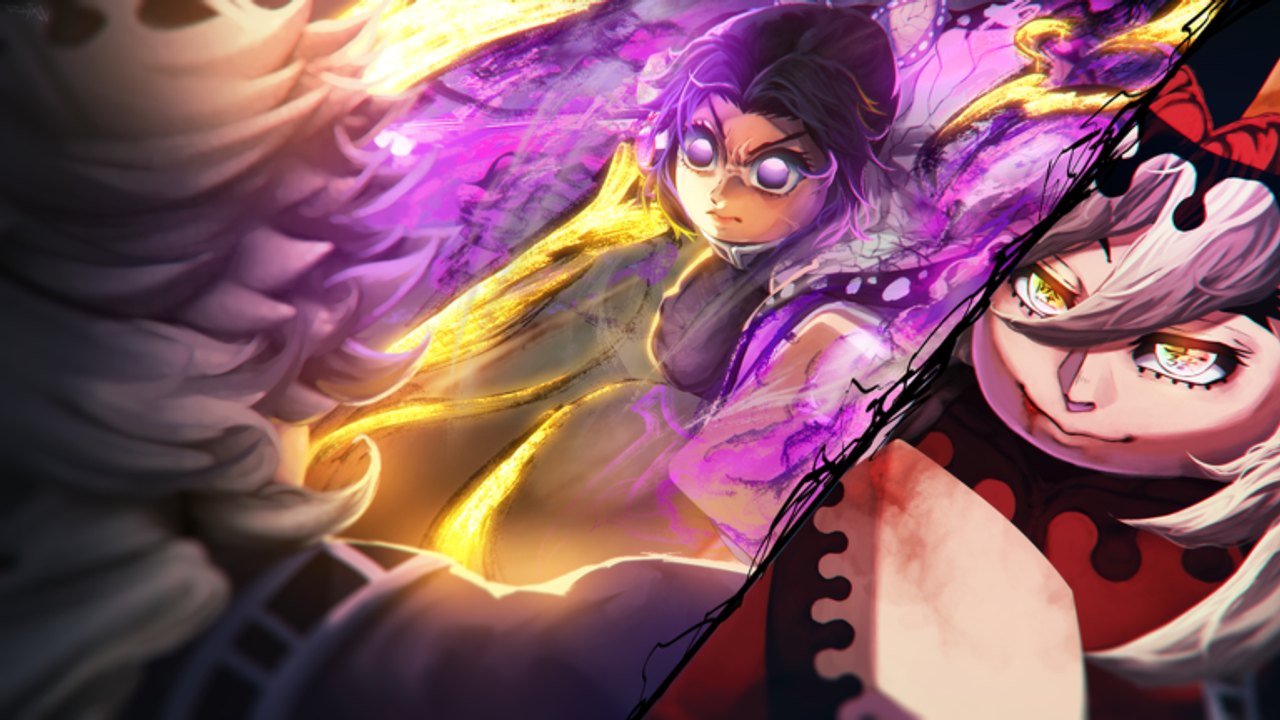
Combat is the skill ceiling of SLAYER by kriel (Place ID 134190081223854). Clan rolls and Breathing Styles matter, but public-test PvE and PvP still punish players who mash M1 without reading wind-ups. This guide expands the bind list on Controls into a full fight plan: how to open, how to defend, when to spend Breathing, and how to recover after a miss. Pair it with Hideout Training for drills and Final Selection before you queue the mountain.
SLAYER combat is parry-first. A successful timed block creates the punish window that styles and Blood Demon Arts are designed to finish. If you only came here for a “best combo,” start with defense — then layer offense.
Core loop (memorize this)
- Approach with walk or Q dash — do not sprint into every pack.
- Probe with short M1 strings; watch the enemy wind-up.
- Hold F on the swing; convert a timed block into a parry.
- Punish with uppercut → downslam, a short M1 confirm, or a Breathing form if the bar is ready.
- If they turtle, use R or sustained hits to guard break, then spend resources.
- Dash out, press E to refill Breathing, reset spacing, repeat.
That six-step loop scales from Frozen Shroud dummies into ranked-feeling lobbies. Styles change which punish button you press; they do not replace the loop.
Bind reminders
| Action | Input |
|---|---|
| Dash | Q |
| Flashstep | Hold E, then Q |
| Block / parry | Hold F (time it) |
| Guard break | R or keep hitting a block |
| Uppercut | Ctrl + M1 |
| Downslam | After uppercut: Hold Space + M1 |
| Breathing refill | E |
| Grab escape | Type the on-screen letters before the red bar empties |
Full menu and travel notes stay on Controls. Mobile and console prompts differ — trust the on-screen label when it conflicts with this PC table.
Parry: the skill that carries every kit
Holding F blocks. Timing F against an incoming strike turns the block into a parry. A late block still reduces damage; a panicked early hold loses to delayed swings, guard breaks, or grabs.
Practice plan
- Run Parry Training at Frozen Shroud until the directional rhythm feels automatic (see Hideout Training).
- In open fights, watch the first frame of commitment — when the enemy commits to a swing, not when they idle.
- After a successful parry, take one clean punish. Greedy six-hit strings get reversed by the next demon in the pack.
Parry skill multiplies every clan passive. A Rare clan on a player who never parries loses to a Common clan on a player who does.
Guard break and pressure
Some opponents — players and AI — hold block forever. Press R for a dedicated guard break, or keep attacking the guard until it collapses. Do not dump a long Breathing animation into a firm block; create pressure, break the guard, then spend the bar.
Against demons that regenerate limbs, a parry-plus-sever window buys breathing room even when the kill is not instant. Limb loss is a tempo tool, not always a permanent kill.
Air route: uppercut into downslam
Ctrl + M1 launches. Immediately Hold Space + M1 for the downslam. This is the cleanest beginner confirm because it teaches commitment and follow-through.
Common mistakes:
- Mashing Space before the uppercut lands
- Releasing Space early so the slam never fires
- Trying the route into armor or a grab wind-up
Drill the sequence in the hub until your fingers stop separating the inputs. Then use it as the default punish after a parry.
Dash, Flashstep, and spacing
Q dash is your neutral glue. Weave dashes between swings so you never stand still in a demon’s face. Save panic dashes for real danger, but do not hoard them — dead players have unused dashes.
Flashstep (Hold E then Q) is a sharper reposition. Community notes repeatedly tie reliable Flashstep to Final Selection completion, and some long-sword perks can block it. Until it unlocks, master ordinary dash footwork. After it unlocks, use Flashstep to exit bad trades or re-enter after a refill — not as a brainless approach into every swing.
Breathing resource management
Press E to refill the Breathing bar. Forms spend that resource. Running dry mid-fight turns a Mythical style into a wooden stick with particles.
Rules of thumb:
- Refill in neutral after a dash-out, not while a grab letter prompt is on screen.
- Spend forms as enders or confirmed openings, not as blind starters into a firm block.
- If forms refuse to cast, check the wooden-blade gate on Nichirin Forging before blaming the style.
Demon players manage a Blood fantasy instead of Breathing forms, but they still need the same dash, parry, and grab habits. See Demon Path for Blood Level and consumption loops.
Grab escapes
When a demon grab locks movement, an on-screen letter sequence appears with a red timer. Type the letters in order once. Mashing fails. After the escape, immediately dash to reset — standing still invites a second grab.
If grabs keep landing, your dash timing is late. Create space earlier and stop finishing every string at point-blank range.
PvE versus PvP emphasis
PvE / missions: prioritize clean parries, short confirms, and Breathing refills between packs. Mission modifiers and Infinity Castle routes punish greed — see Missions.
PvP: prioritize reads. Bait a swing, parry, then spend your style or BDA confirm. Kits with more armor frames feel stronger into reckless opponents; kits with better mobility feel stronger into turtles. Comparative style notes live on the Tier List.
Pre-Final Selection combat checklist
Before you queue the mountain trial:
- Parry Training completed enough times that timing feels boring.
- Uppercut → downslam works without looking at the keyboard.
- You can refill Breathing (E) under light pressure.
- You know how grab letters look and you have typed one clean sequence in practice.
- You have Yen left for one more training round after a failed queue — claim Codes if you are broke.
Then open Final Selection for queue, party, and ore notes.
Related pages
- Controls — full PC bind table
- Hideout Training — Parry and Breathing drills
- Getting Started — day-one route
- Rerolls — when combat skill should beat pity spending
- Breathing Styles — which punish tools to lab next
- Demon Path — Blood Level combat fantasy
Master the loop first. In SLAYER, a player who parries on time with a Rare kit will outpace a Mythic stamp that never blocks.
Frequently Asked Questions
Quick answers to the most common questions.
What is the most important combat skill in SLAYER?
Timed parry with F. A successful parry creates the punish window that styles and Blood Demon Arts are meant to finish.
How do I guard break in SLAYER?
Press R for a dedicated guard break, or keep attacking an opponent's block until the guard collapses. Then spend Breathing or M1 confirms.
Why does Flashstep not work yet?
Reliable Flashstep often requires Final Selection completion, and some long-sword perks can block it. Use ordinary Q dash until those gates clear.
Should I learn combat before rerolling clans?
Yes. See the Rerolls guide — a mastered Rare clan beats a neglected Legendary when you never parry.